Correct Posting Errors on Payments in History
In a recent workshop for Dentrix users, attendees were asked whether or not they close the month as part of their regular office procedures. It was a little surprising to learn that most of those surveyed were not in the habit of closing the month. When asked why, they told us they were afraid they would not be able to correct posting errors once transactions were moved into history.
Offices that aren’t closing out the month probably don’t understand the importance of that routine. Not only does it move items to history as required by most general accounting systems, but closing the month is an important process that allows Dentrix to perform maintenance tasks that contribute to accurate patient data. By closing the month, patient account balances are aged, monthly financial reports are updated, insurance benefits are reset, and old appointments are purged.
By understanding how to correct posting errors in history, you can close your month without fear that you won’t be able to go back and correct mistakes later. If you find posting errors, whether they be on payments in history or procedures in history, you can correct them even after the month is closed.
While you cannot delete payments that are in history, you can correct the mistake and maintain accurate A/R records by entering an adjustment to offset the incorrect payment amount, and then posting a corrected, backdated payment.
To correct posting errors on payments in history:
- In the Ledger, select the patient.
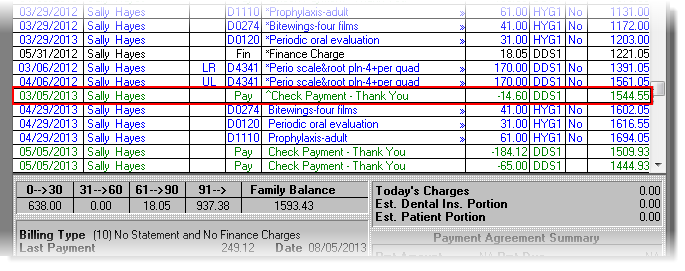
- Find the payment(s) that needs to be corrected. Note the date, payment amount, and the provider it was allocated to. You will need that information in order to enter the adjustment.
Note: If the original payment was split when it was entered, you may need to find two or more payments that, when added together, equal the payment amount you are trying to correct - Since you cannot delete the payment, you need to enter an adjustment to offset the amount of the original payment. Select Transaction > Enter Adjustment. The Enter Adjustment dialog box appears.
- Enter the amount of the payment you are correcting in the Amount field.
- Select the type of adjustment being made in the Type pane. Because you are offsetting a credit that has already been posted, you will post a debit (+) adjustment to negate the amount of the payment.
Note: If you do not already have one, you should set up a debit (+) adjustment type specifically for correcting payments in history. - Select the Provider to whom the adjustment should be applied. This should be that same provider the payment was applied to.
- Enter a note to explain that you are making the adjustment to correct a posting error.
- Now that you have posted an adjustment to offset the amount of the payment, the balance appears as if the payment was never made. You must post a new payment with the correct information to complete the process. Click the Enter Payment button. The Enter Payment dialog box appears.
- In the Date field, enter the date the original payment was made. You will be backdating the new payment to the date of the original payment.
- Enter the correct amount of the payment in the Amount field.
- Enter the rest of the payment information as you normally would. In the Note field, include a note that explains that you reposted this payment to correct a posting error.
- Click OK to post the corrected payment. The payment will have a ^ next to it in the Description column of the Ledger to indicate that it was backdated to a month that has been closed out.

By understanding how to correct posting errors on payments in history, you can have more confidence in being able to close out the month as part of your office procedures.
Author: Sean Eyring
Published: 08/31/2013

 Contact Us
 Phone:
  Email
Email Request Demo